
Bike puncture repair step by step: a complete guide
- Karl Cowell
- 2 days ago
- 9 min read

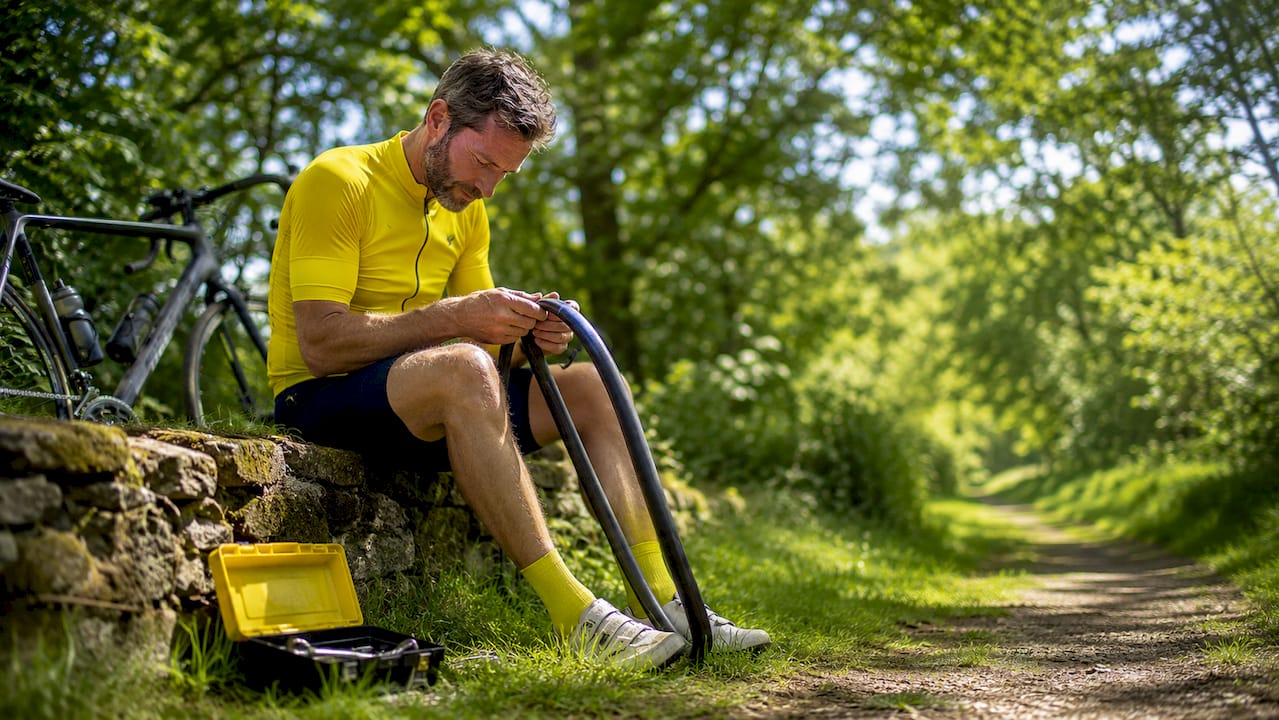
Bike puncture repair step by step is the process of restoring a punctured bicycle tyre by removing the wheel, extracting and inspecting the inner tube, fixing or replacing the tube, then reinflating and reinstalling everything correctly. With the right tools and a clear sequence, a full repair takes roughly 5–10 minutes once you have practised it a few times. This guide covers every stage in detail, from the kit you need to the final safety check, with specific notes for e-bike owners using systems such as Bosch or Shimano where wheel removal requires extra care.
What tools do you need for a bike puncture repair?
Gathering your kit before you start saves time and prevents the frustration of stopping mid-repair to hunt for something. Every cyclist should carry or have access to the following items.
The core kit:
Tyre levers (plastic preferred): used to unseat the tyre bead from the rim without scratching the wheel. Metal levers can pinch the tube.
Patch kit: either a traditional vulcanising kit (with glue and patches) or self-adhesive patches such as those in a Park Tool or Rema Tip Top kit. Both work well when applied correctly.
Spare inner tube: the fastest fix on the road. Match the valve type (Presta or Schrader) and tube diameter to your tyre.
Pump: a mini hand pump or CO2 inflator for roadside repairs. A track pump at home gives more accurate pressure.
Bucket of water: for locating pinhole leaks by submerging the inflated tube and watching for bubbles.
Sandpaper or a small rasp: included in most patch kits, used to roughen the tube surface before applying glue.
Pliers or tweezers: for removing thorns, glass, or wire embedded in the tyre casing.
Pro Tip: Always carry a spare tube, two tyre levers, and a CO2 inflator on every ride. A patch kit is a backup, not a primary plan. Patching on the roadside in cold or wet weather is far harder than swapping a tube.
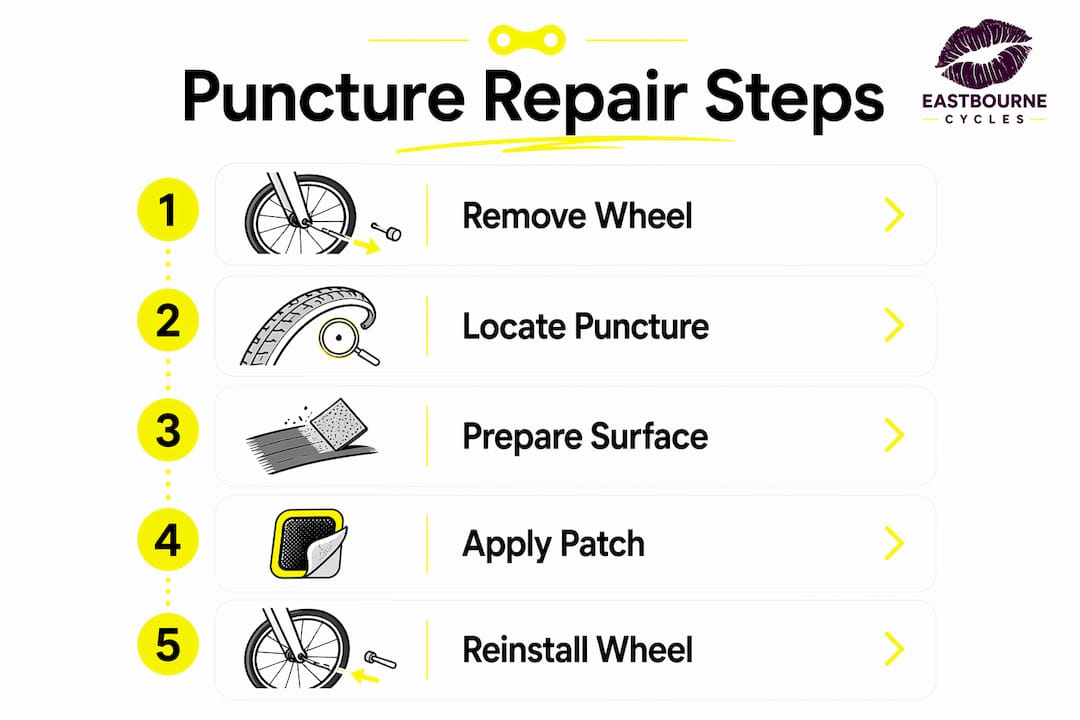
How do you remove the wheel and tyre to access the inner tube?
Safe wheel removal is the foundation of any DIY bike tyre repair. Rushing this stage risks damaging the tyre, the rim, or on an e-bike, the motor connections.
Shift to the smallest cog on the rear cassette before removing the rear wheel. This slackens the chain and makes wheel removal much easier.
Open the quick-release lever or loosen the through-axle bolt. Through-axles are common on modern bikes and e-bikes. Unscrew the axle fully and slide it out before dropping the wheel.
Release the brakes if you have rim brakes. Hydraulic disc brakes do not need adjustment, but avoid squeezing the lever with the wheel out, as this can close the calliper pistons.
Lift the wheel clear of the dropouts. For rear wheels, guide the derailleur back as the wheel drops free.
Deflate the tube completely by pressing the valve core. For Presta valves, unscrew the small brass nut first.
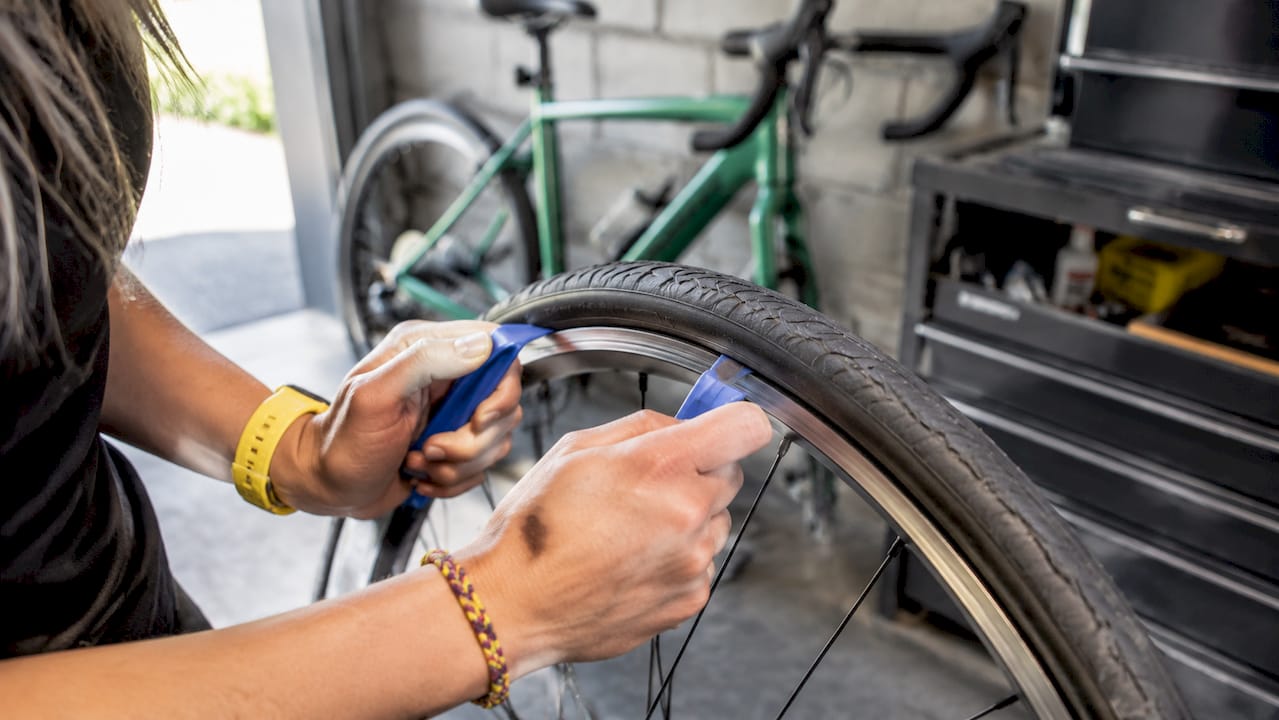
Unseat one side of the tyre bead using your thumbs, working around the rim. If the tyre is tight, use plastic tyre levers. Hook one lever under the bead, clip it to a spoke, then work a second lever around the rim to free the bead fully.
E-bikes with Bosch drive systems require particular care during wheel removal. Never open or probe electronic components, and if you are unsure about the motor connections or axle torque settings, consult an authorised dealer before proceeding.
Pro Tip: Once one bead is free, pull the inner tube out starting at the valve. Ease the valve stem out of the rim hole last to avoid tearing the valve base.
How to locate and prepare the puncture
Finding the exact puncture location is the step most cyclists rush, and it is the reason so many repairs fail within a few miles. Missed embedded debris and rim strip damage are the leading causes of repeat punctures after a repair.
Locating the leak
Inflate the tube to roughly twice its normal width. You do not need full pressure, just enough to reveal the leak.
Listen and feel for escaping air around the tube. Many punctures are audible.
Submerge the tube in water if you cannot find the leak by feel. Bubbles rising from the tube pinpoint the hole precisely. Rotate the tube slowly through the water.
Mark the spot with a Biro or chalk. Do not rely on memory.
Inspecting the tyre and rim
Once you have marked the hole, align the tube with the tyre to identify where the puncture lines up on the casing. This tells you exactly where to look for the cause.
Run your fingers carefully along the inside of the tyre casing, feeling for thorns, glass shards, or wire. Embedded debris causes repeat flats within minutes if left in place.
Inspect the outside of the tyre for cuts or bulges.
Check the rim strip (the protective tape or rubber band covering the spoke holes). A torn or displaced rim strip exposes spoke holes that can puncture a new tube immediately.
Use pliers or tweezers to remove any debris. Never use your bare fingertip to probe for glass.
Pro Tip: If you find two small holes close together in a figure-of-eight pattern, this is a pinch flat, also called a “snake bite”. It means the tyre was under-inflated when you hit an obstacle. Check your recommended tyre pressure on the sidewall and inflate correctly after the repair.
Puncture pattern | Likely cause | Action required |
Single small hole | Thorn, glass, or wire | Remove debris, patch or replace tube |
Two holes close together | Pinch flat (under-inflation) | Replace tube, inflate to correct pressure |
Long tear or split | Tyre casing damage | Replace tyre before riding |
Hole near valve base | Valve stem damage or rim strip issue | Replace tube, check rim strip |
Preparing the surface for patching
Sand the area around the puncture with the rasp or sandpaper from your patch kit until the rubber looks dull. Apply a thin, even layer of vulcanising glue and spread it slightly wider than the patch. Then wait. The glue must reach correct tackiness before you apply the patch. Rushing this step is the most common reason patches lift later, particularly in wet conditions. The surface should feel slightly sticky but not wet, typically after 1–2 minutes.
What are the steps to patch a puncture or fit a new tube?
This is the core of the repair. Whether you are patching the existing tube or fitting a spare, the technique at this stage determines whether the repair lasts.
Applying a patch
Peel the foil backing from the patch, touching only the edges.
Press the patch firmly over the glued area, centred on the puncture mark.
Rub the patch down hard from the centre outward, pushing out any air bubbles. Hold firm pressure for at least 60 seconds.
Remove the cellophane top film carefully, peeling from one corner. If the edges start to lift, press them back down immediately.
Self-adhesive patches skip the glue stage but still require the surface to be sanded. They are convenient but slightly less durable than vulcanised patches in the long term.
Fitting a new tube
Inflate the new tube slightly before installation. A lightly inflated tube holds its shape and prevents folds and pinch flats during fitting.
Insert the valve stem through the rim hole first.
Tuck the tube evenly inside the tyre, working around the rim. Check for any twists or folds as you go.
Reseat the tyre bead by pushing it back onto the rim with your palms, starting at the valve and working outward in both directions. Work the tight last section with your palms rather than tyre levers. Using a lever here is the single most common cause of an immediate new puncture.
Inflate to the pressure marked on the tyre sidewall. Most road tyres specify 80–120 psi; most mountain bike tyres specify 25–35 psi. CO2 inflators fill quickly but can over-inflate if you are not careful. Check bead seating by spinning the wheel and looking for bulges or dents near the valve.
Pro Tip: After inflation, press the tyre sidewall firmly all the way around. If you feel a hard lump, the tube is trapped under the bead. Deflate immediately and reseat that section before re-inflating.
Method | Best for | Key risk |
Vulcanised patch | Long-term roadside fix | Rushing the glue flash-off |
Self-adhesive patch | Quick emergency fix | Less durable in wet conditions |
New tube swap | Fastest repair on the road | Forgetting to remove debris first |
How do you reinstall the wheel and check the repair?
Reinstalling the wheel correctly is as important as the repair itself. A loose axle or misaligned bead can cause the tyre to fail or the brakes to rub.
Slide the wheel back into the dropouts, ensuring the axle seats fully on both sides.
Reconnect the quick-release or through-axle. Tighten the through-axle to the torque specified by the manufacturer. Quick-release levers should close firmly with moderate hand pressure.
Reconnect the brakes if you released them for wheel removal. Check that rim brake pads sit squarely against the braking surface, not the tyre.
Spin the wheel and watch the tyre bead. It should sit evenly in the rim channel all the way around. Any wobble or bulge means the bead is not fully seated.
Squeeze both brake levers to confirm the brakes engage correctly before riding.
Ride slowly for 30–50 metres and listen for any air loss or unusual tyre movement.
“E-bike owners should perform puncture repairs carefully and leave complex reassembly or suspected loose parts to authorised specialists to avoid damage or safety risks.” — Bosch service guidance
If you ride a Bosch-powered e-bike, verify that the motor axle is torqued correctly and that no cables or connectors were disturbed during wheel removal. The e-bike maintenance guide from Eastbournecycles covers axle torque and post-repair checks in detail.
Key takeaways
A successful bike puncture repair depends on thorough inspection of the tyre and rim strip before fitting any new tube or patch.
Point | Details |
Inspect before fitting | Always check the tyre casing and rim strip for debris before installing a new tube. |
Glue timing matters | Let vulcanising glue reach full tackiness before pressing the patch to prevent edge lifting. |
Avoid levers on the last bead section | Use your palms to seat the final section of tyre bead and prevent pinch flats. |
Inflate to sidewall pressure | Match inflation to the pressure printed on the tyre sidewall and check bead seating after. |
E-bike axle care | Verify motor axle torque after wheel reinstallation on e-bikes before riding. |
What I have learned from years of puncture repairs
After more than a decade working with cyclists and e-bike owners at Eastbournecycles, the pattern is clear: most repeat punctures are not bad luck. They are the result of skipping the inspection step. Riders patch the tube, reinstall everything, pump it up, and then get another flat within two miles because a tiny shard of glass is still sitting in the tyre casing. The inspection is not optional. It is the repair.
The second thing I would tell any rider is to practise at home before you need to do this on the road. Doing it once in your kitchen, with no pressure and good lighting, is worth more than reading ten guides. You will learn where your tyre levers need to go, how your specific valves behave, and how tight your tyre bead is. That knowledge is what gets you back on the road in under 10 minutes when it matters.
For e-bike owners, I would add one more caution. The repair itself is the same as on any bike, but the consequences of a poorly reinstalled wheel are greater. A loose axle on a Bosch or Yamaha mid-drive system can damage the motor casing or affect the torque sensor. If anything feels uncertain after reassembly, get it checked by an authorised mechanic before your next ride. The Bosch eBike service process at Eastbournecycles includes a post-repair safety check as standard, which is worth knowing about.
— Guy
Puncture repairs in Eastbourne: when to call in the professionals
Sometimes a flat tyre is straightforward. Other times, you find a split casing, a damaged rim strip, or a motor axle you are not confident about reinstalling. That is exactly when Eastbournecycles is worth a visit.
Eastbournecycles has over 12 years of experience servicing bikes and e-bikes in Eastbourne, with direct relationships with Bosch, Yamaha, and Shimano. The team handles everything from a simple puncture repair to full drivetrain overhauls, with transparent pricing and a 4.7-star Google rating. For riders who want professional support alongside their own DIY skills, book a repair online or drop in to the workshop. Combining what you can do yourself with expert backup when it counts is the most reliable approach to keeping any bike on the road.
FAQ
How long does a bike puncture repair take?
With practice, a tubed flat repair takes roughly 5–10 minutes. The inspection and tube installation steps take the most time for beginners.
Should I patch the tube or fit a new one?
Small punctures can be patched successfully with a vulcanised or self-adhesive patch. Large tears, split valves, or multiple holes mean the tube should be replaced.
Why do I keep getting punctures after a repair?
Repeat flats after repair are almost always caused by missed debris inside the tyre casing or a damaged rim strip. Always inspect both before fitting a new tube.
Can I repair a puncture on an e-bike myself?
Yes, the repair process is the same as on a standard bike. However, e-bikes with Bosch systems require correct axle torque on reinstallation. If you are unsure, have an authorised mechanic check the reassembly.
What tyre pressure should I inflate to after a repair?
Inflate to the pressure printed on the tyre sidewall. Avoid over-inflation, especially with CO2 cartridges, and always check bead seating by spinning the wheel before riding.
Recommended

Comments